Gallery
Functional assets for the table.
Every render below came out of a blueprint, not a lucky roll. Click through for the full plate and the story behind it.
One blueprint, three casts
Blueprint variations
The clearest proof a blueprint holds: cast it more than once and watch what stays fixed.
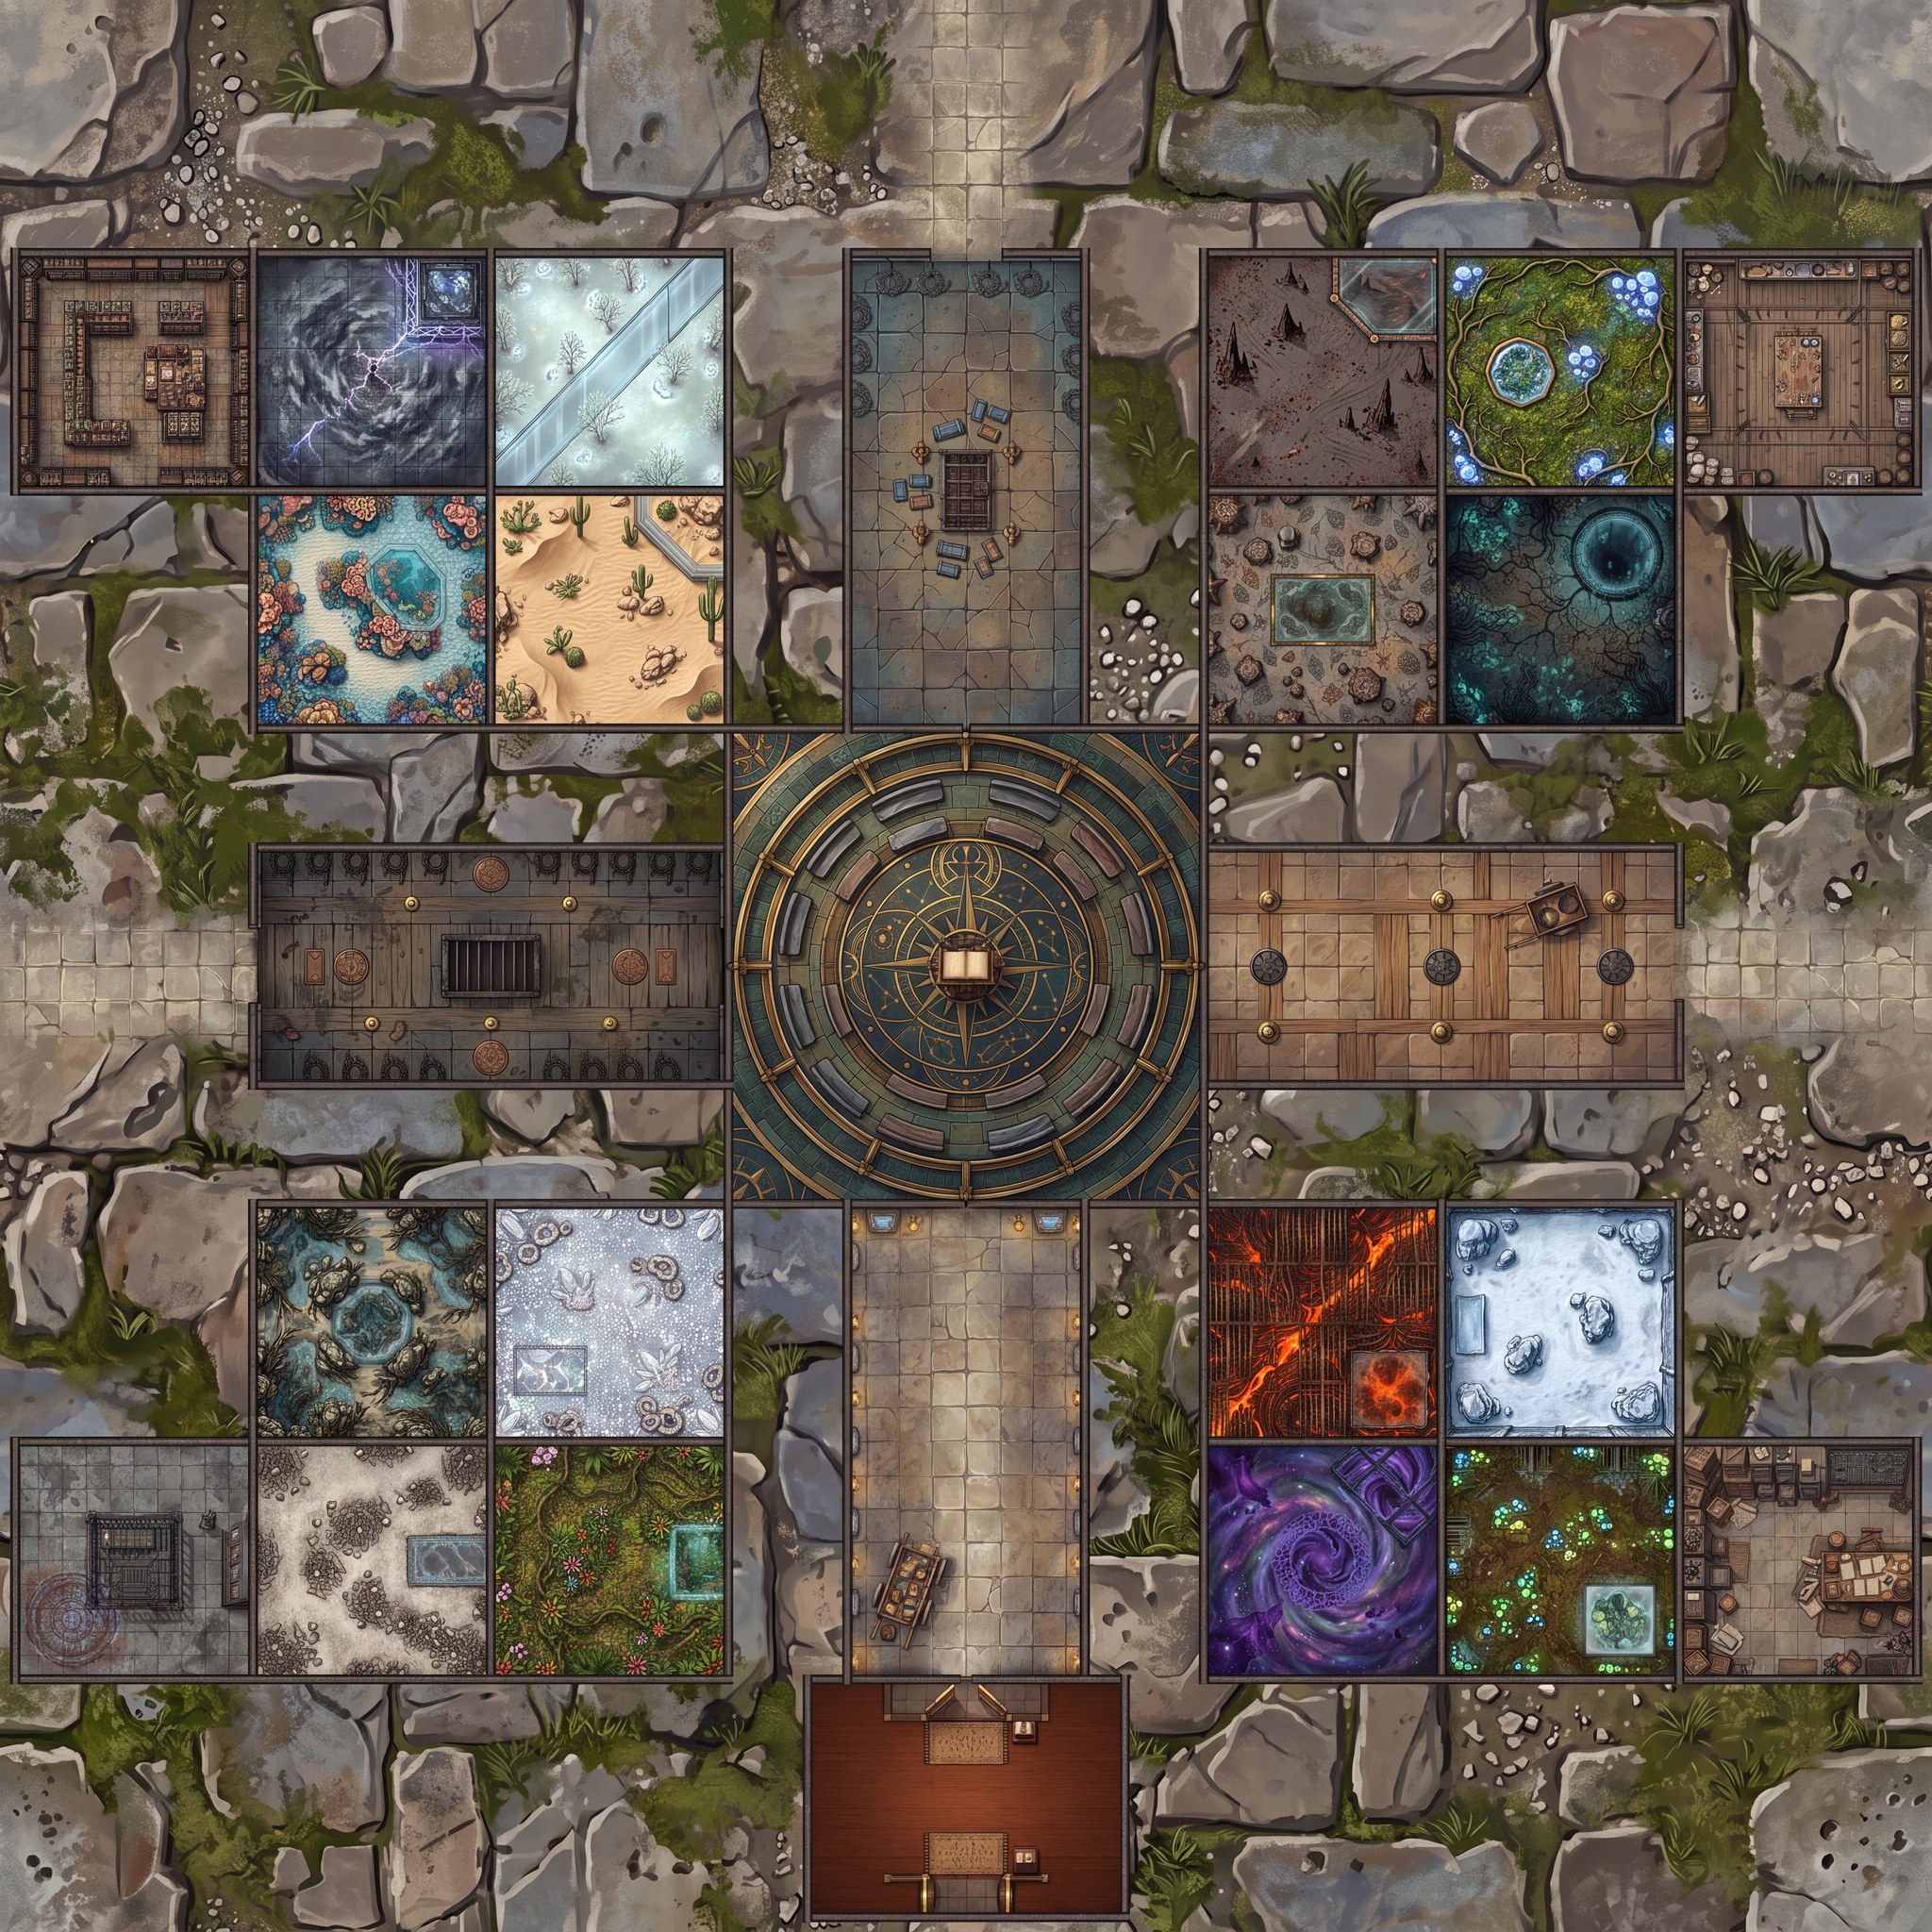
Battlemaps
Tactical scale, room by room.
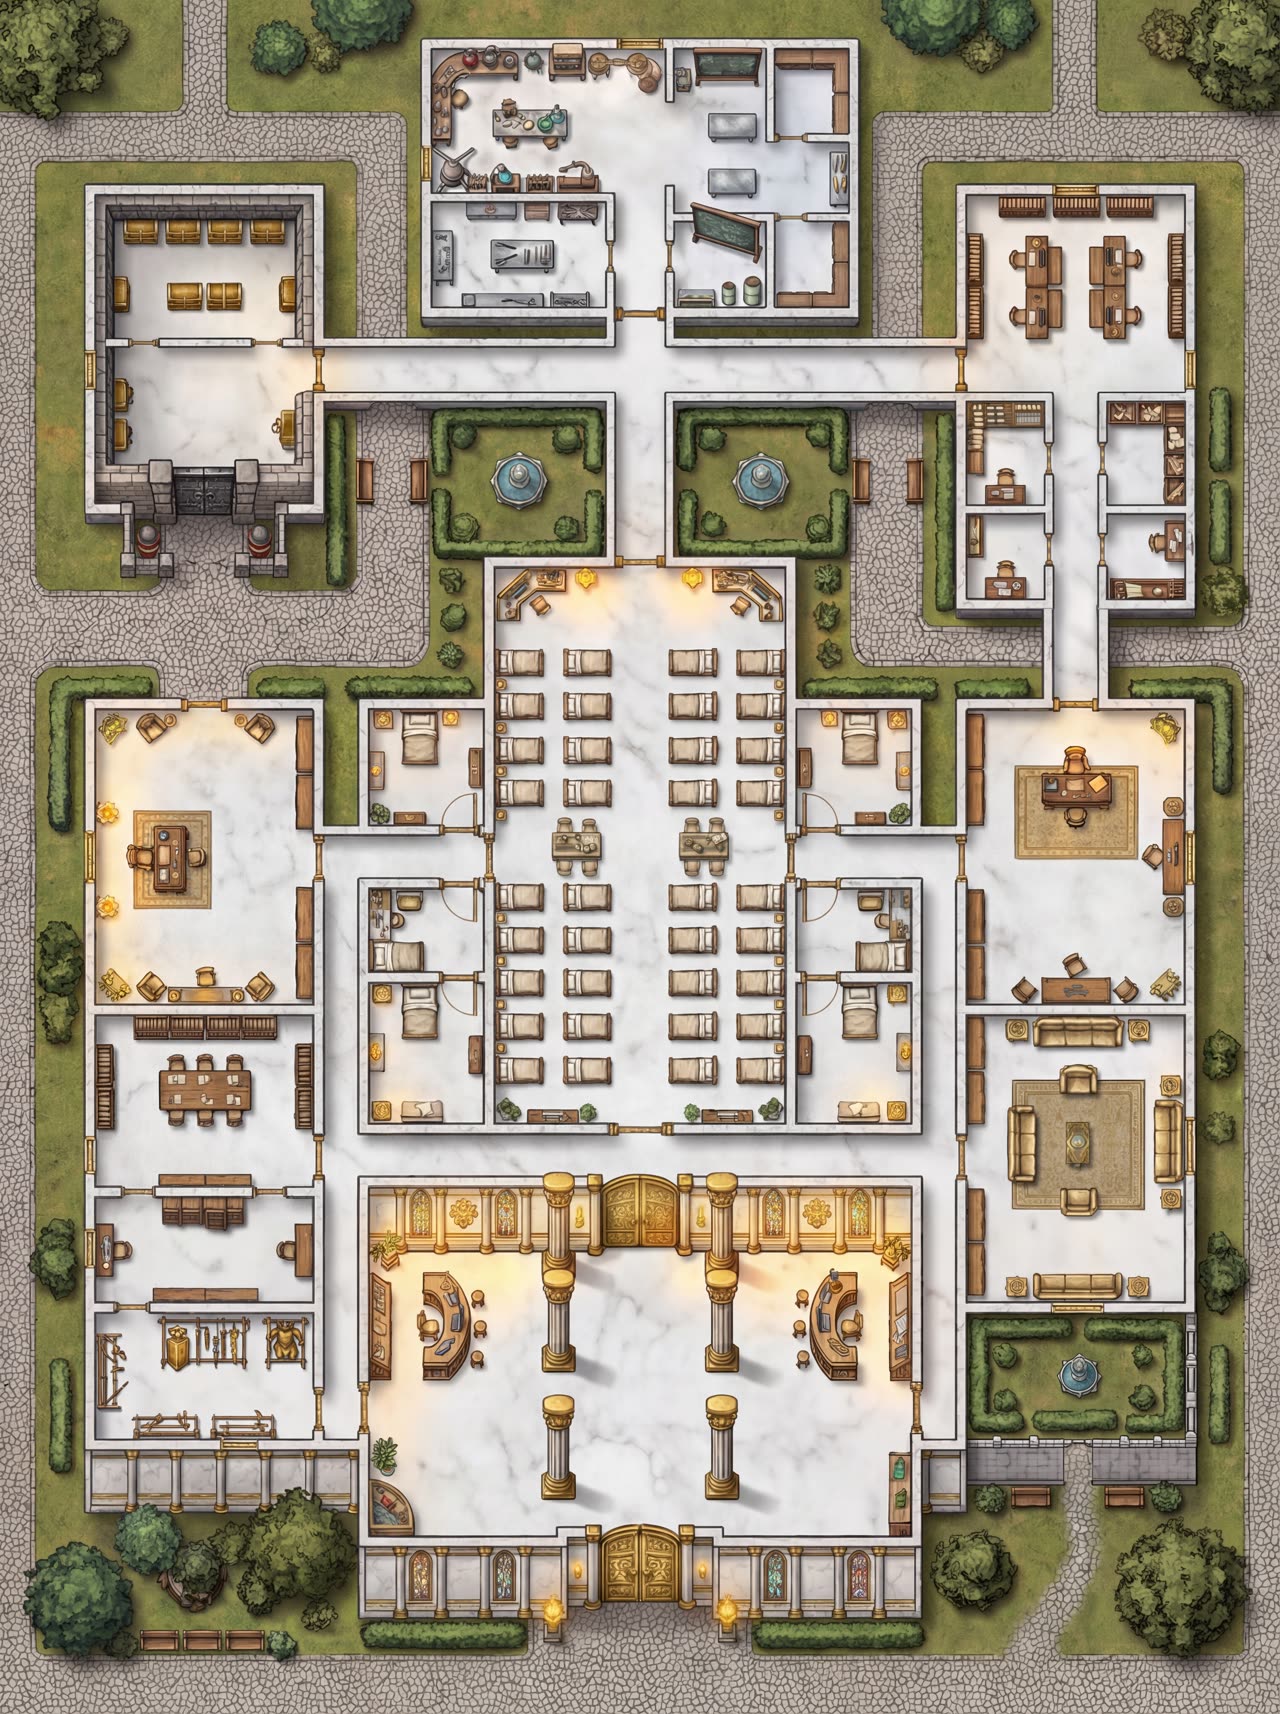
The Golden Sanctum
A counting-house dressed as a temple: dormitories, shrine rooms, a receiving hall, and a gilded nave built for processions, not prayer.
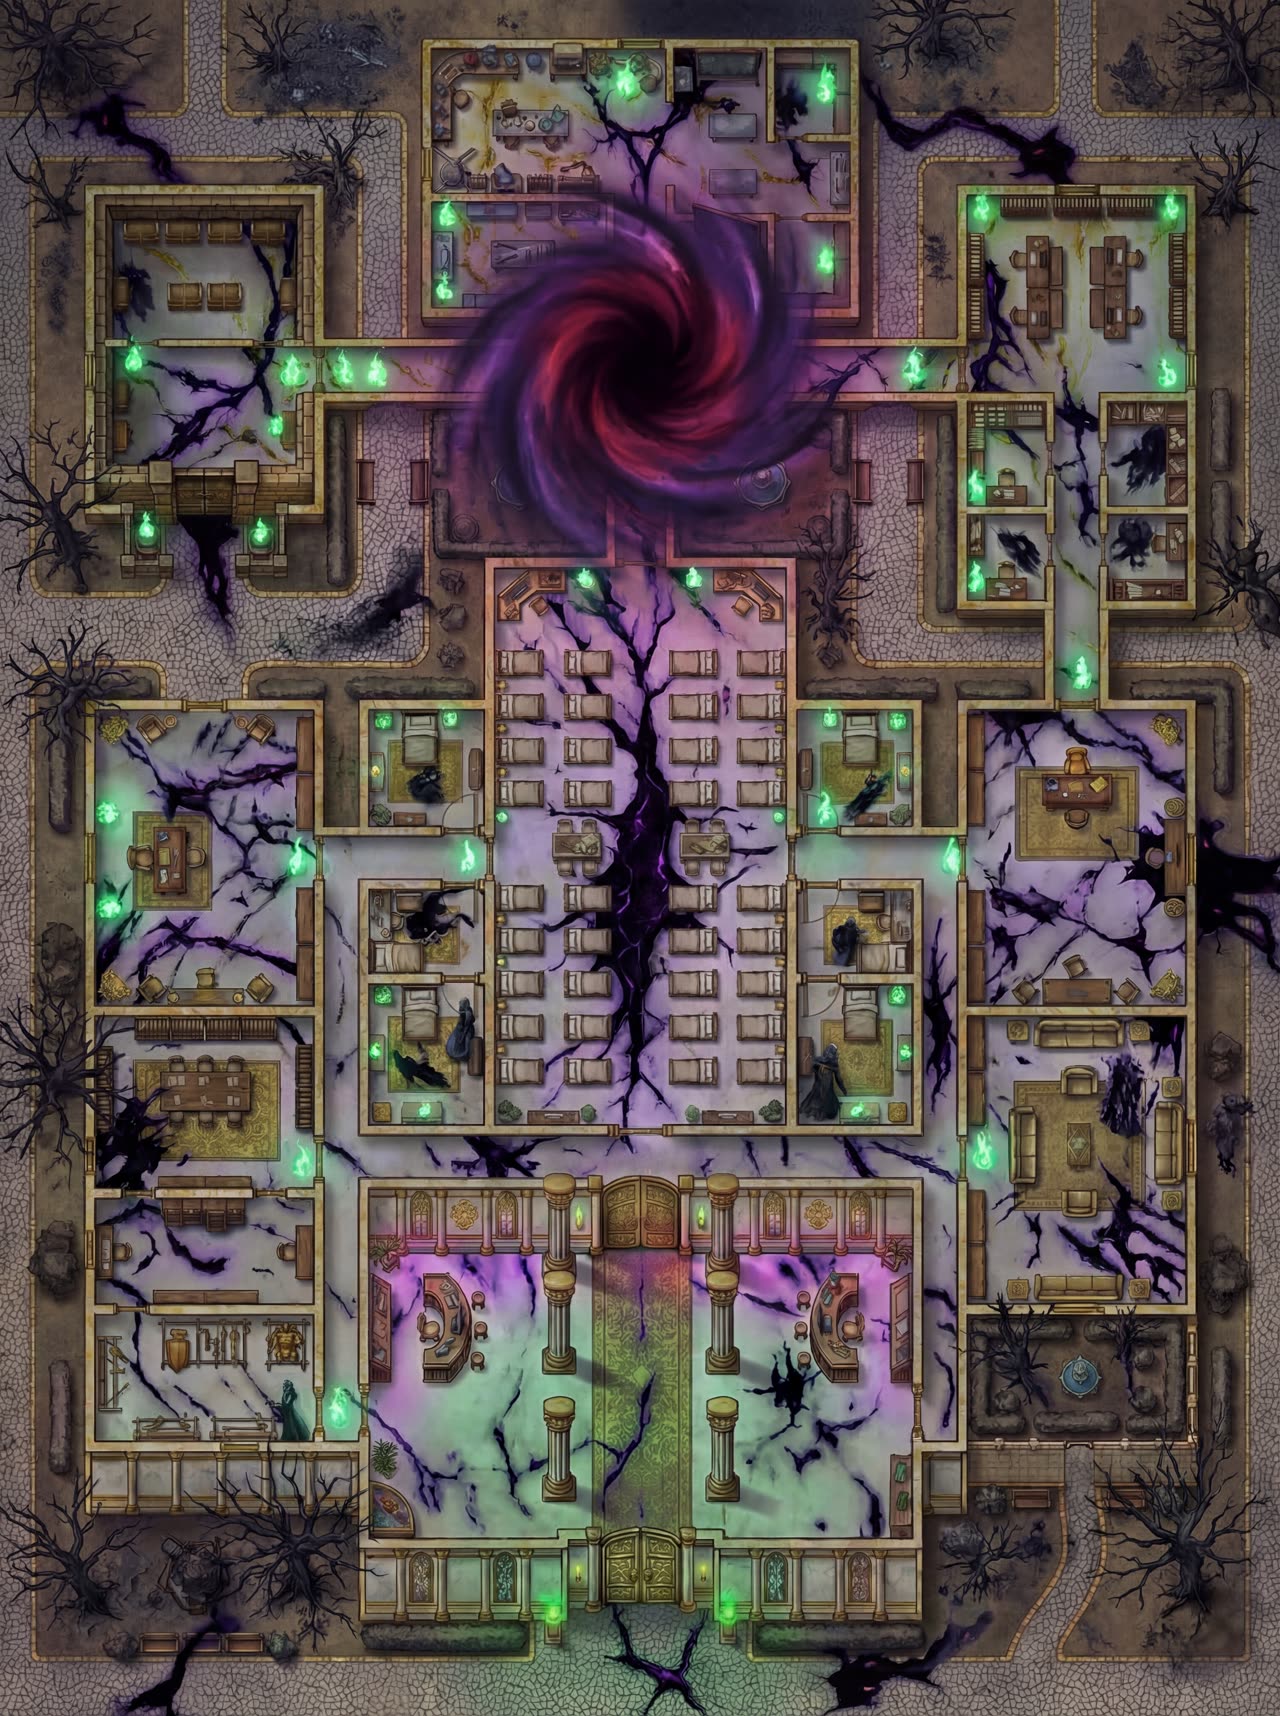
The Golden Sanctum, After
The same sanctum, a session later. A rift tears through the nave and dormitories, wards cracked, marble scorched. Same footprint, worse night.
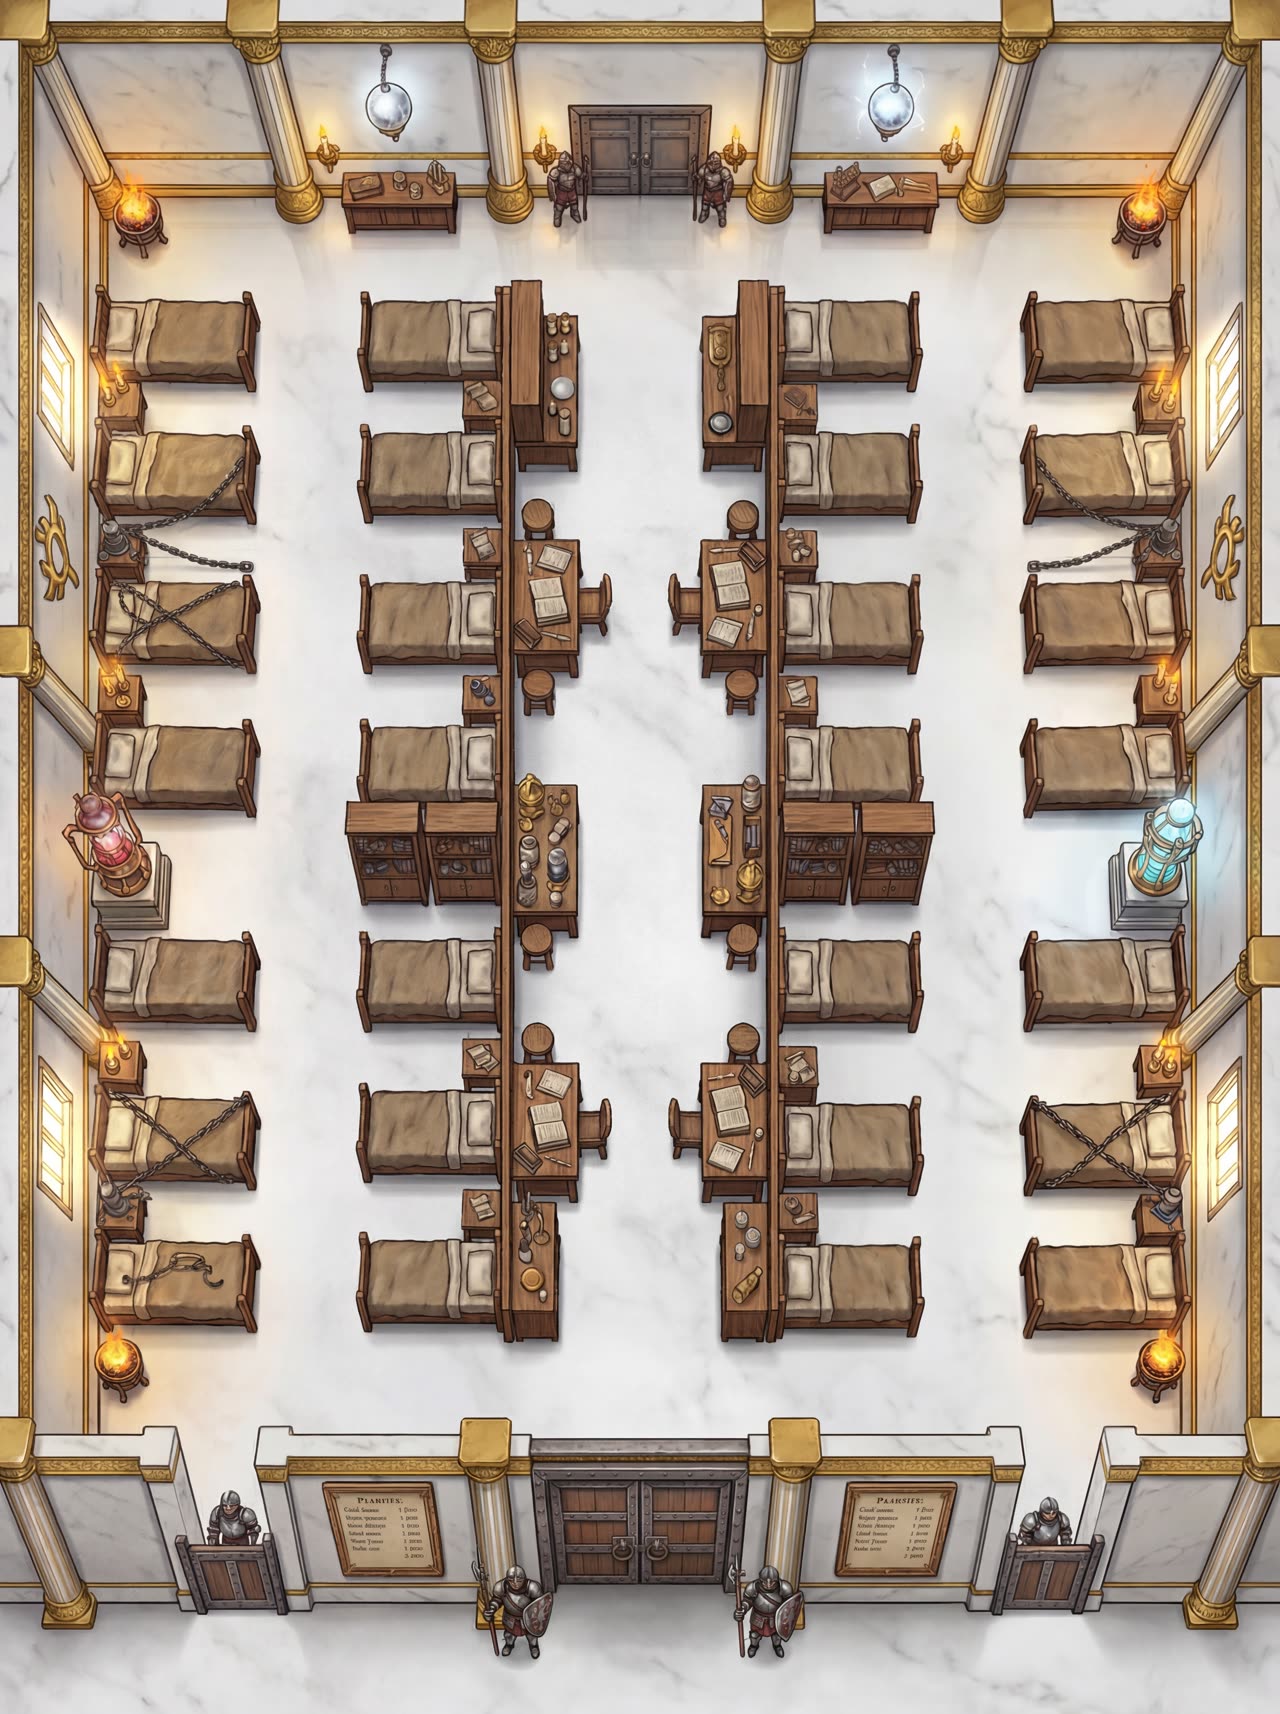
The Hall of Suffering
Forty debtors’ beds, chained to their frames, ledgers open on every nightstand, and two guards standing between the room and the only door out.
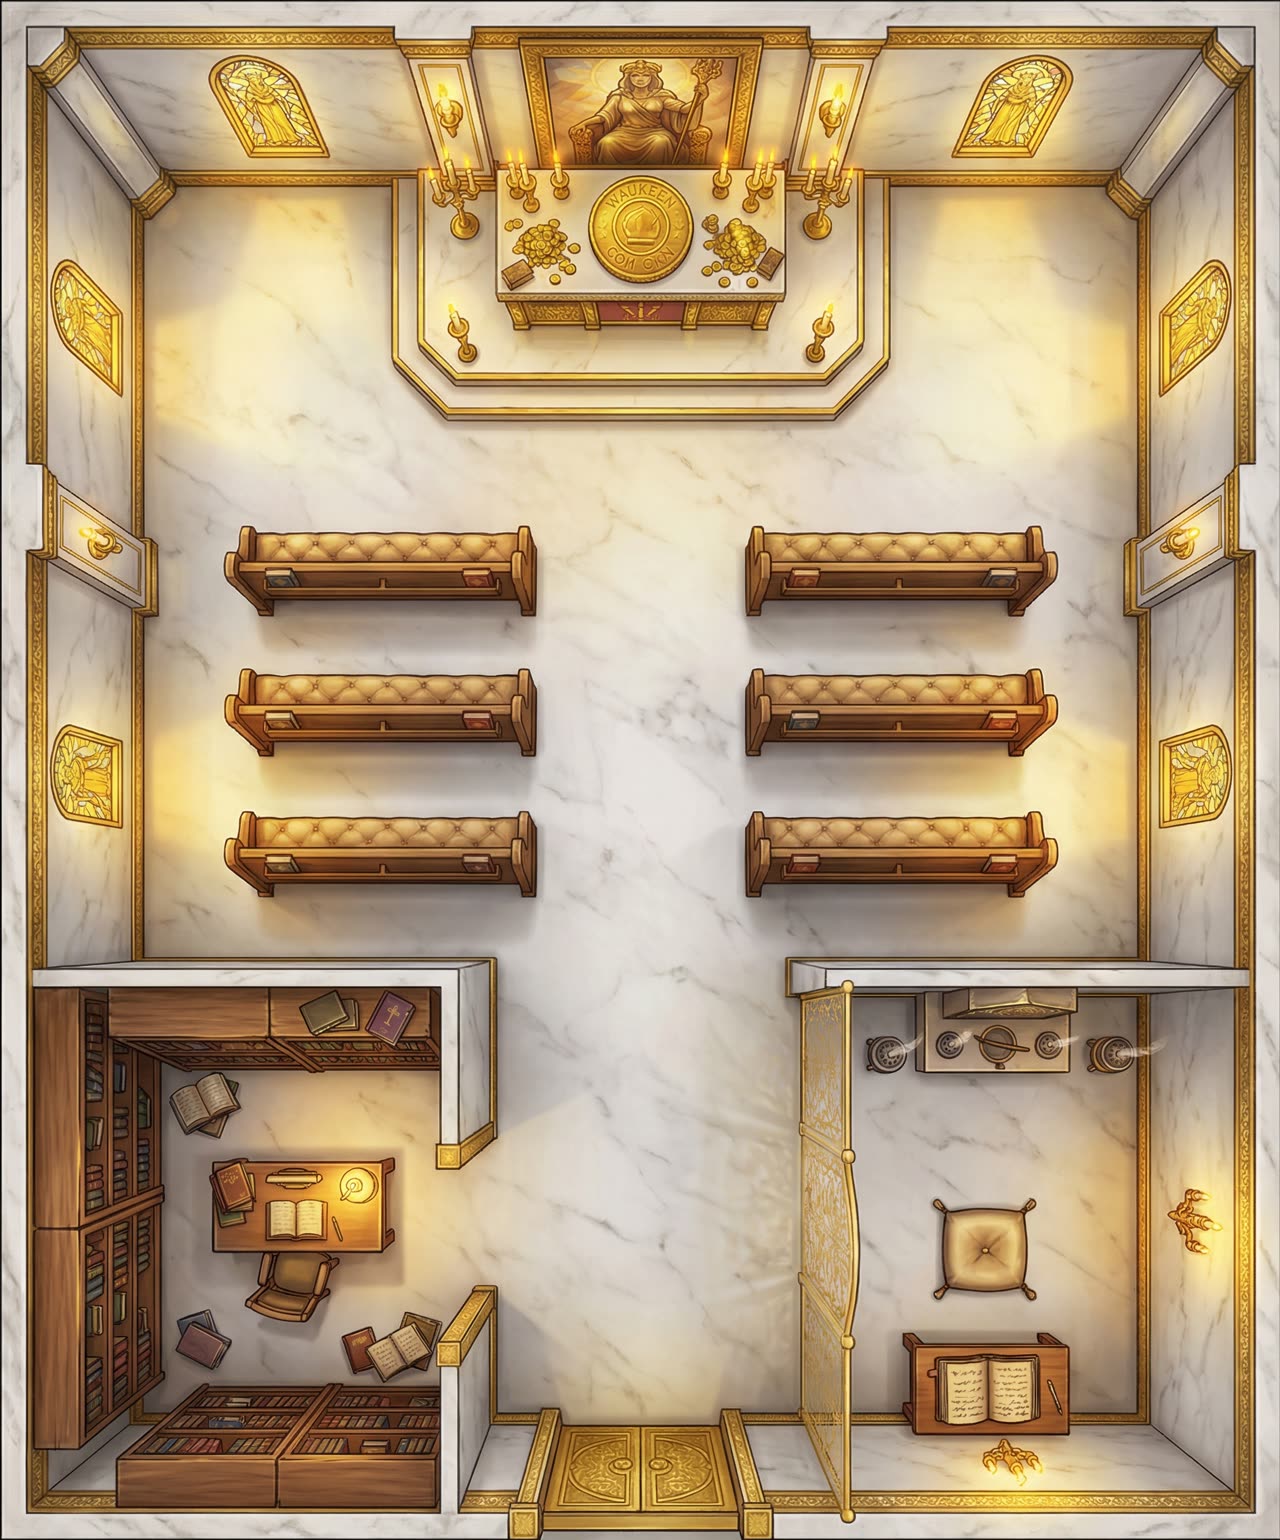
Nyssa's Private Chapel
A donor's-eye shrine tucked behind the main sanctum — six pews, a locked reliquary, and a study where the real bargaining happens.
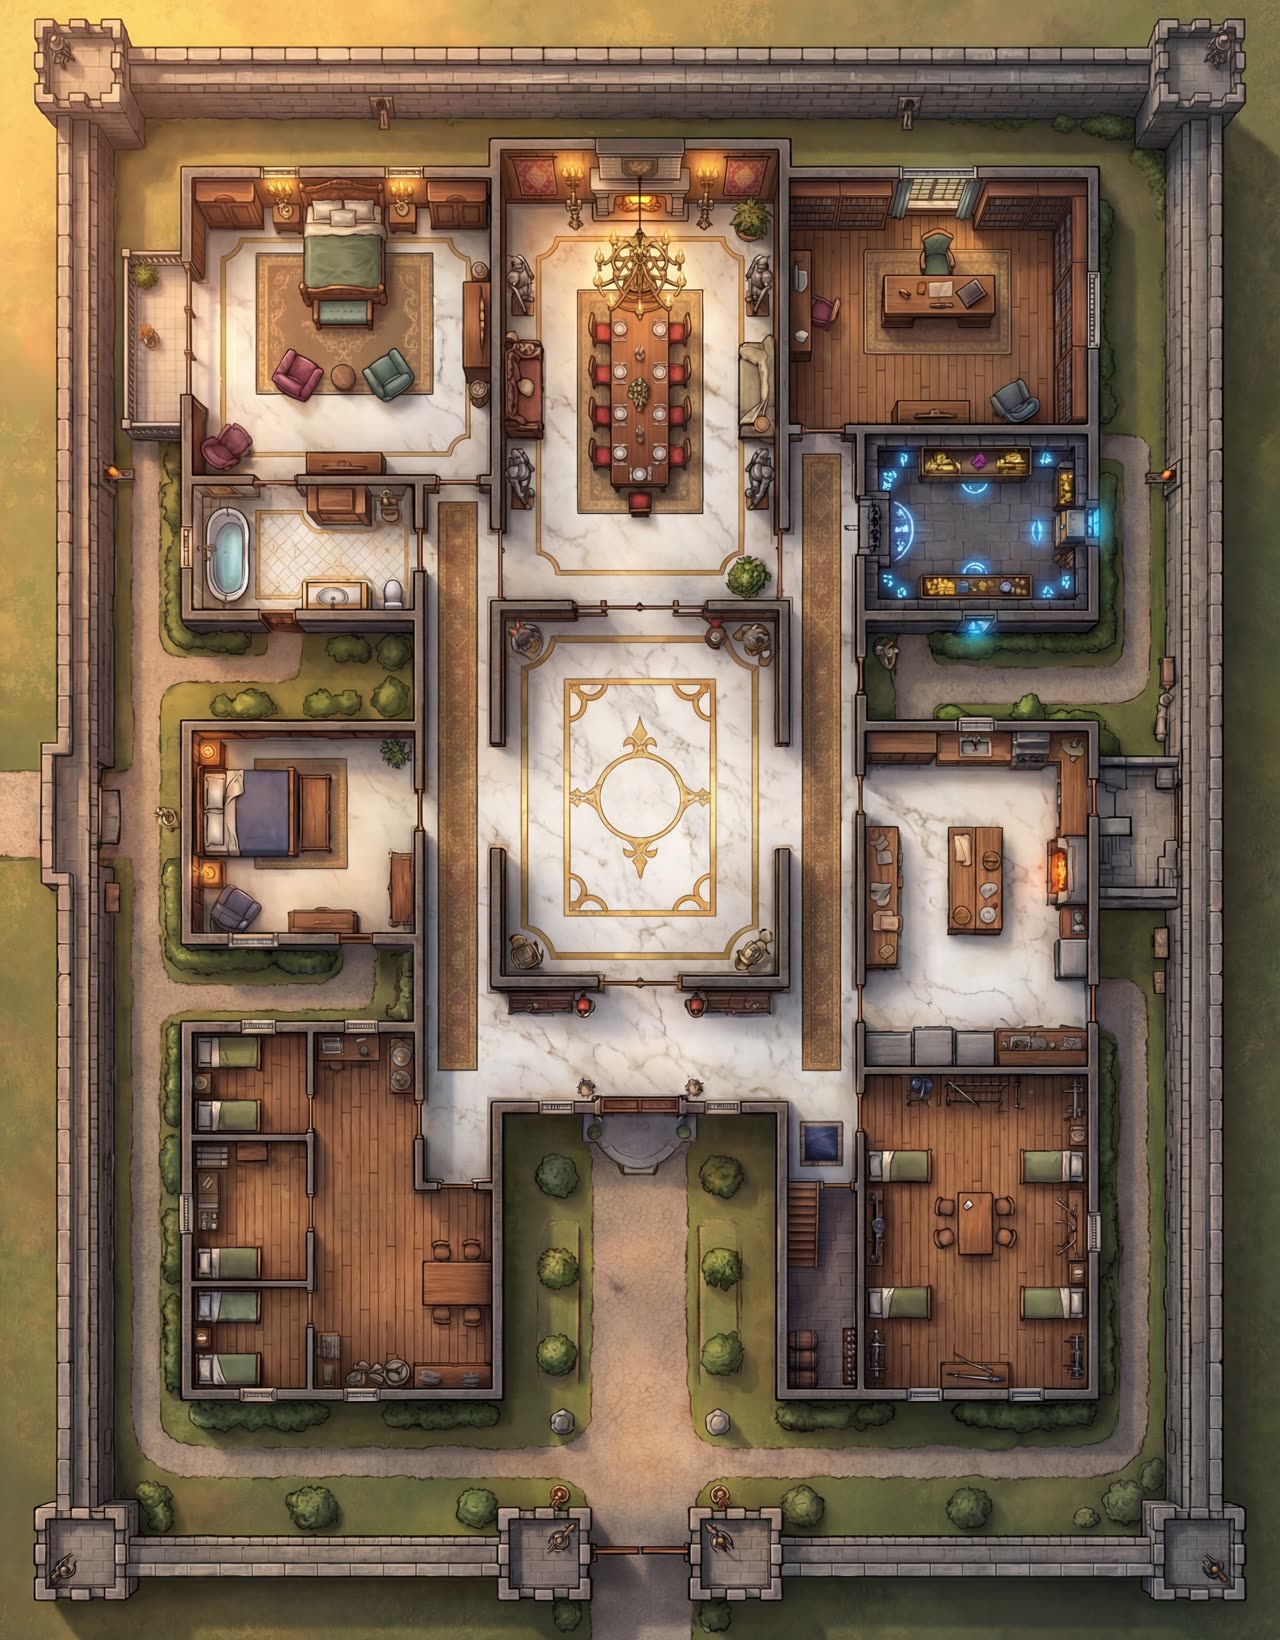
Orvex Villa
A merchant-prince's household in cross-section: a grand hall for entertaining, private baths, bedrooms, and a study lit by something that isn't candlelight.

Temple District
A gilded dome ringed by lesser shrines and half-timbered rowhouses — the kind of skyline that tells you exactly who runs this town.
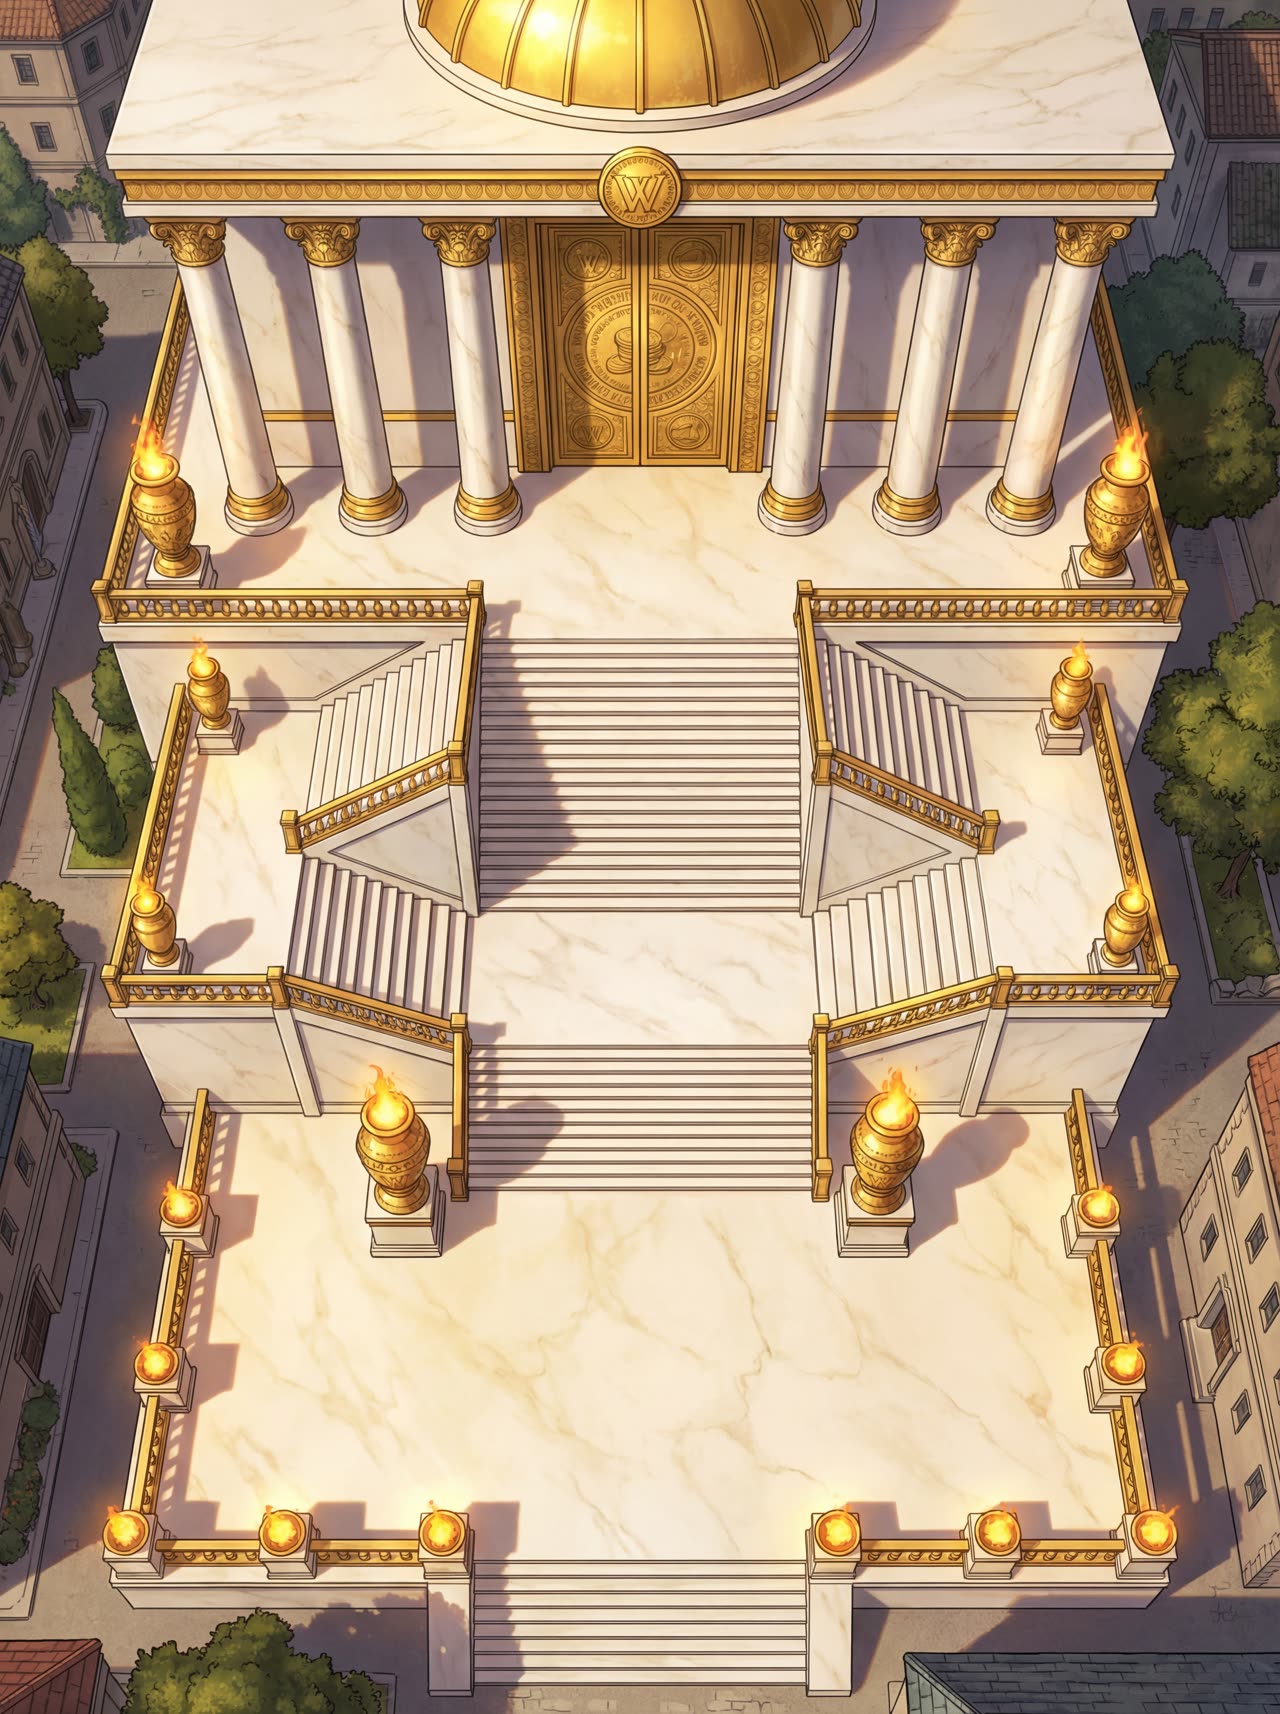
Grand Entrance
The sanctum's front steps in close-up: forty feet of marble, twin stairs, and a bronze door built to make petitioners feel small before they're inside.
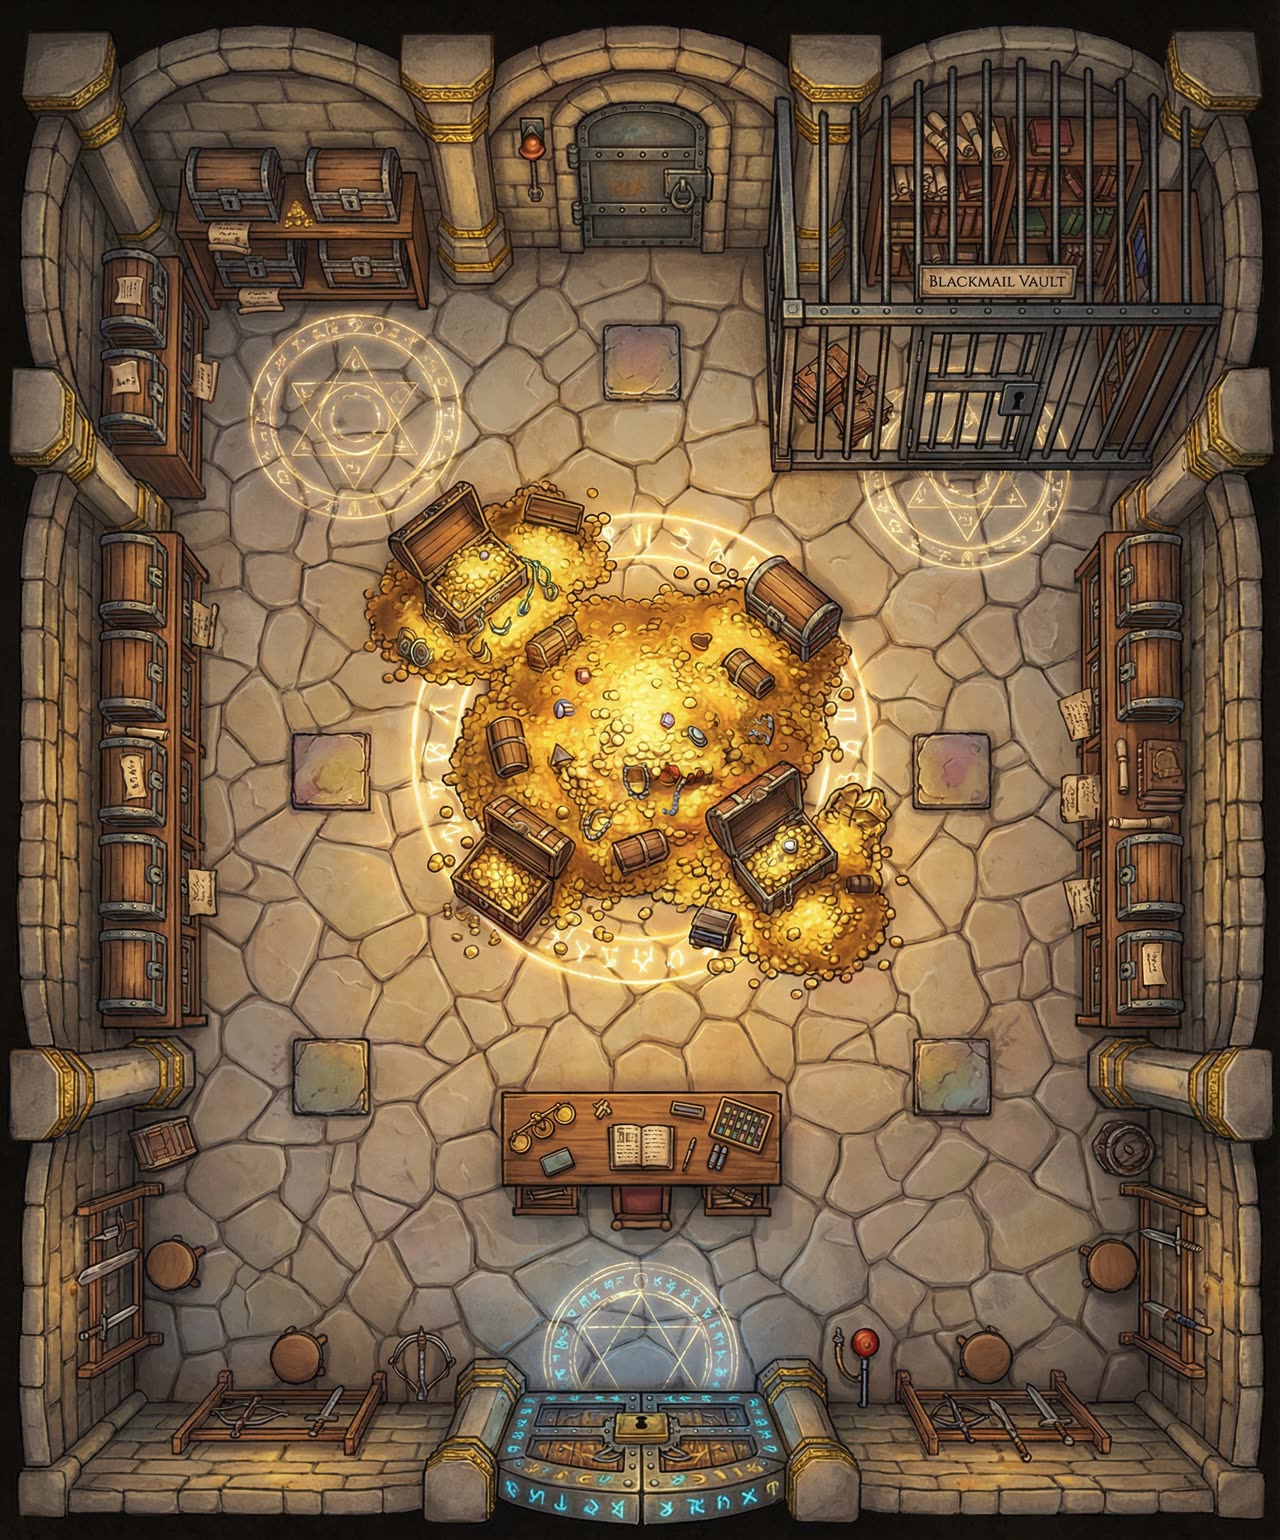
Vault of Mercy
A treasury with a second, smaller cage inside it — the coin is for counting, the caged shelves marked "blackmail vault" are for leverage.
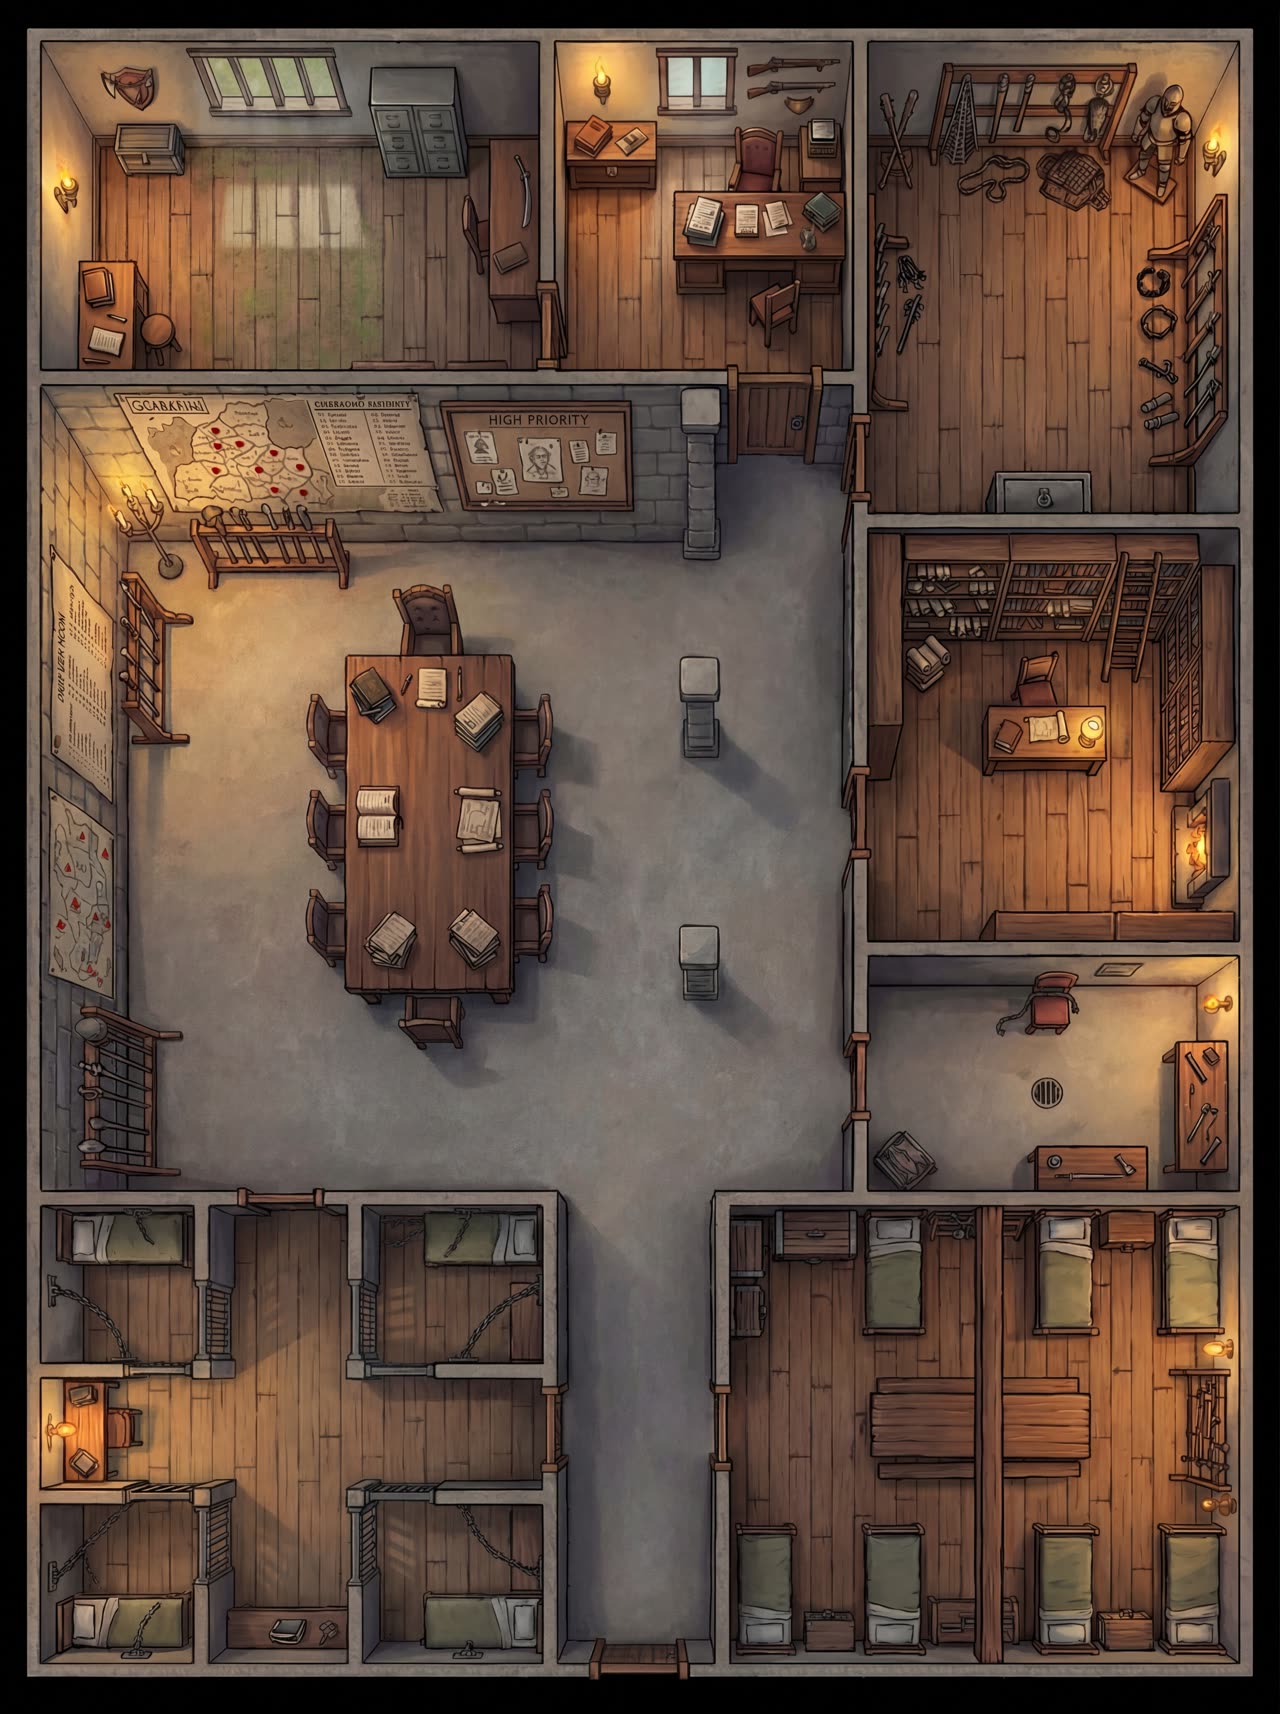
Garran's Office
A bounty office doubling as a debtors' cellblock — wanted boards and a war table up front, chained bunks in the back rooms.
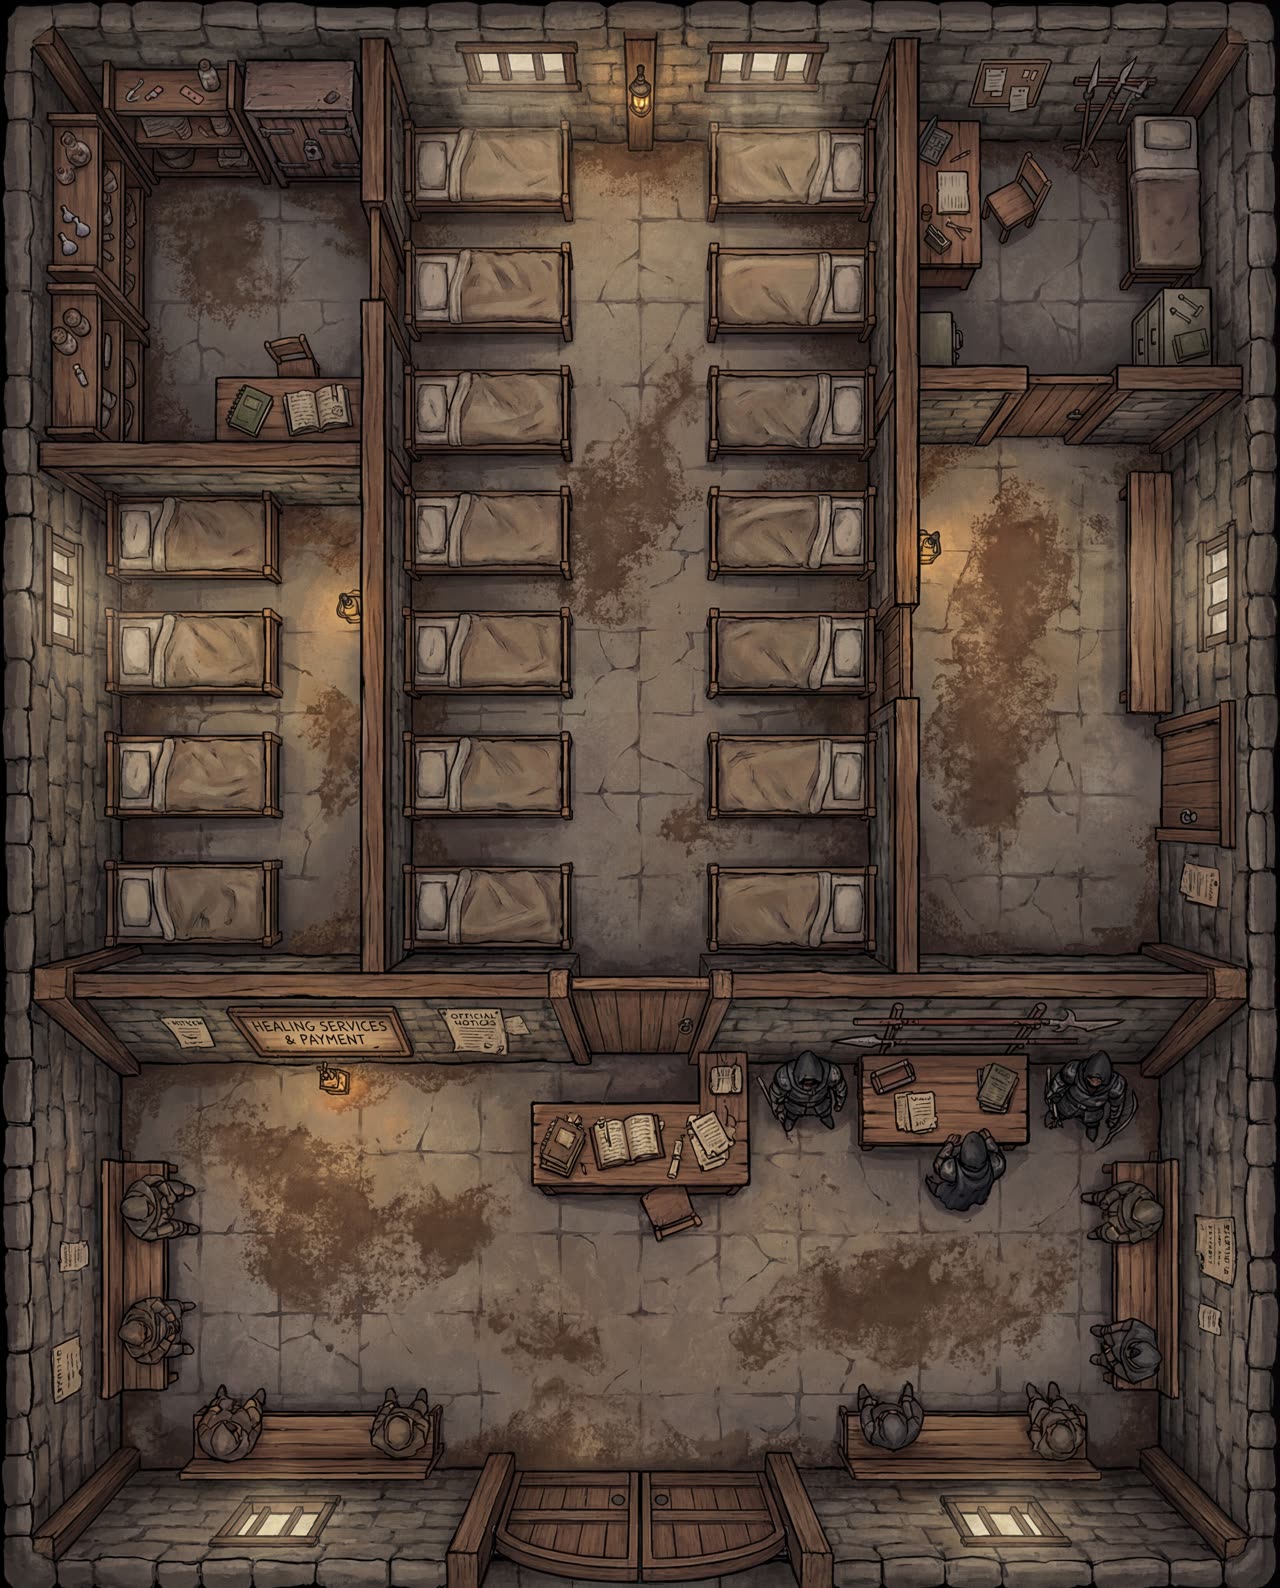
The Field Hospital
Twenty beds, a payment desk, and a sign that answers the only question that matters here: healing costs, and it costs first.
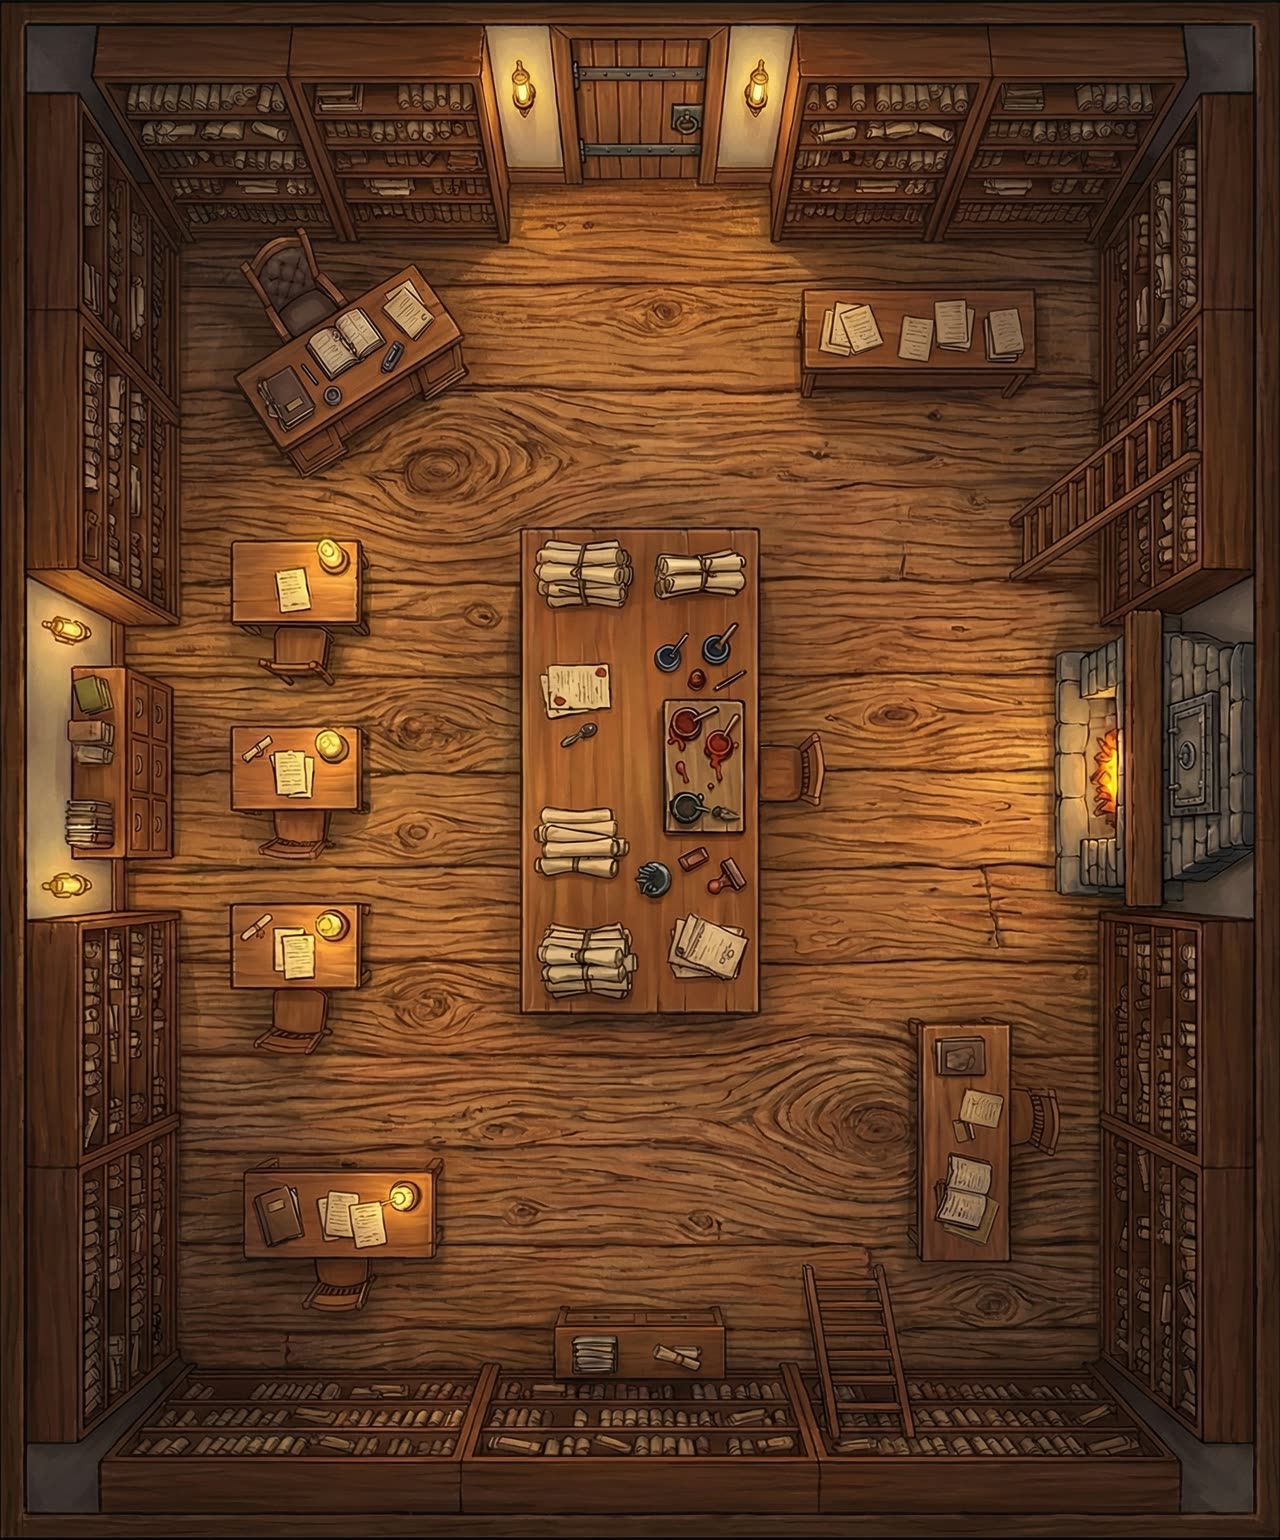
Contracts Chamber
A scribe's office built to make debt permanent — sealed ledgers, a fireproof strongbox, and a ladder to an archive no one's allowed near.
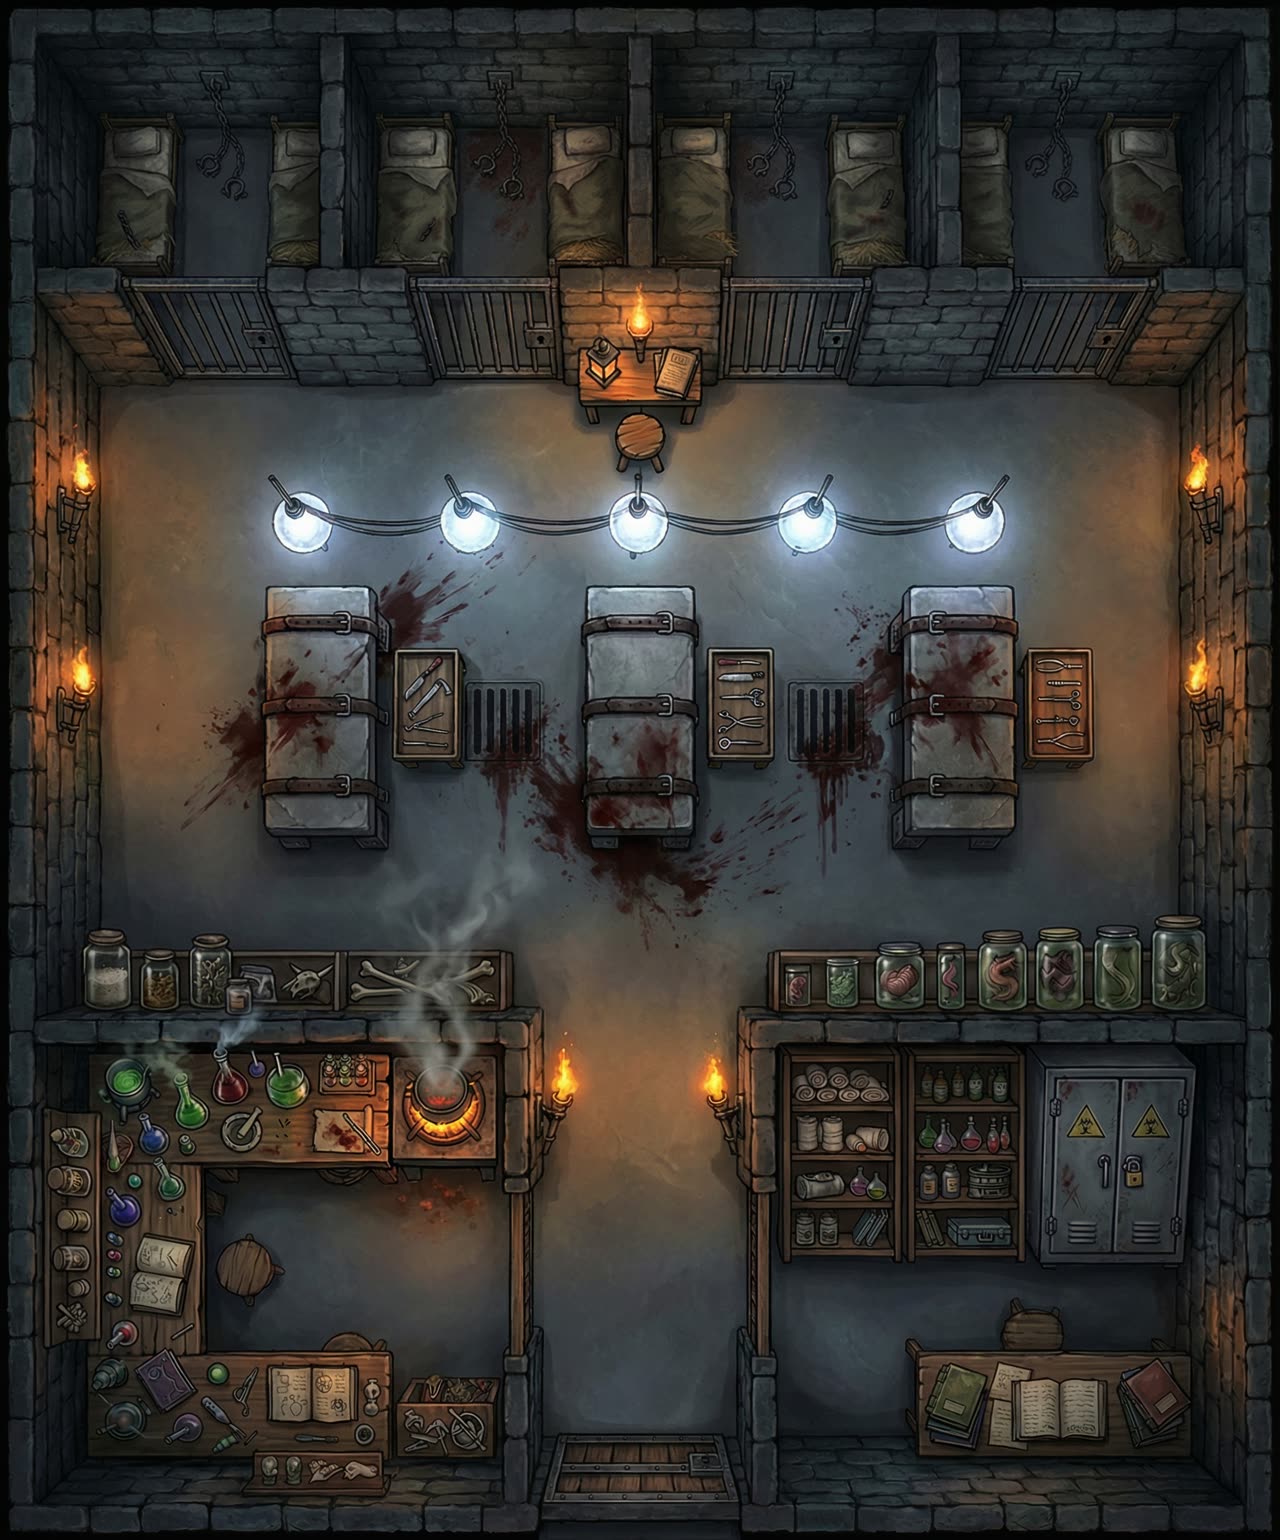
The Experimental Hall
Restraint tables, surgical trays, and specimen jars lining both walls. Whatever they're perfecting in here, it isn't medicine.
Handouts
What you put in their hands.

The Sanctum at Dusk
The Golden Sanctum's facade from the petitioners' side of the steps. Hand this over before the party ever sets foot inside.
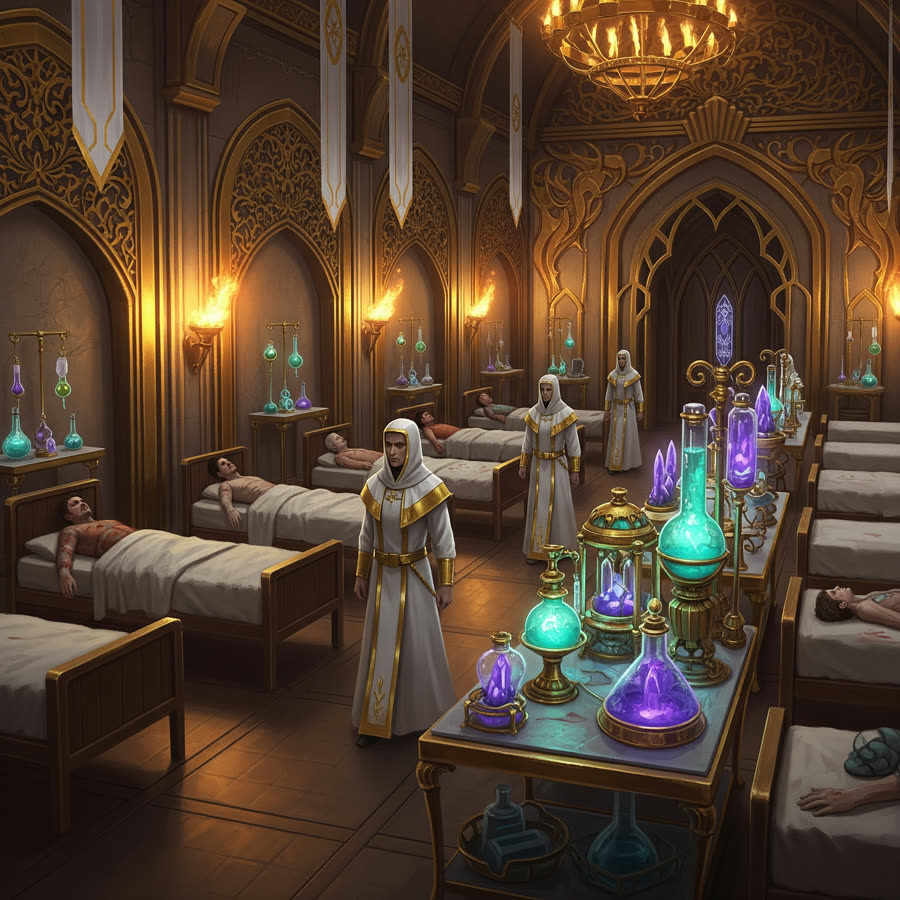
Ward of the Faithful
White-robed clerics tending rows of the unconscious — mercy healing and inventory management, performed by the same hands.

The Altar of Gold
A literal mountain of tithes, candle wax pooling over the coin — the visual proof that this god's mercy is priced by weight.
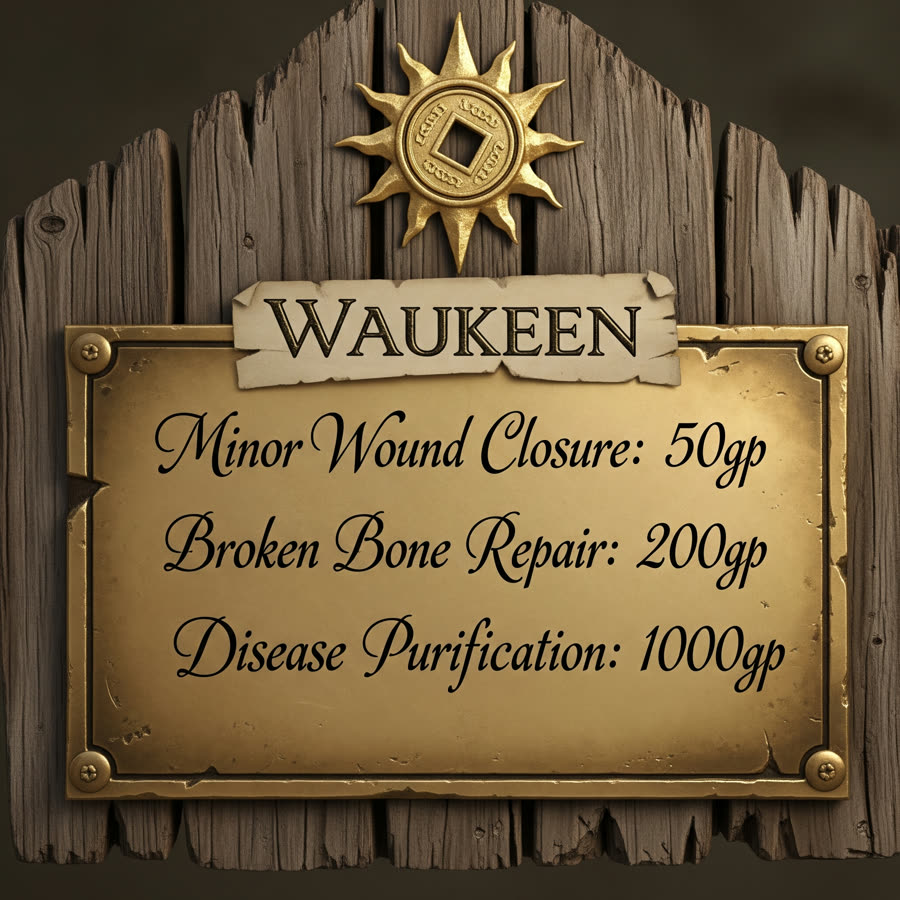
Waukeen's Price List
The house rates, nailed to a board for anyone who can't afford to ask twice: fifty gold to close a wound, a thousand to purify a disease.
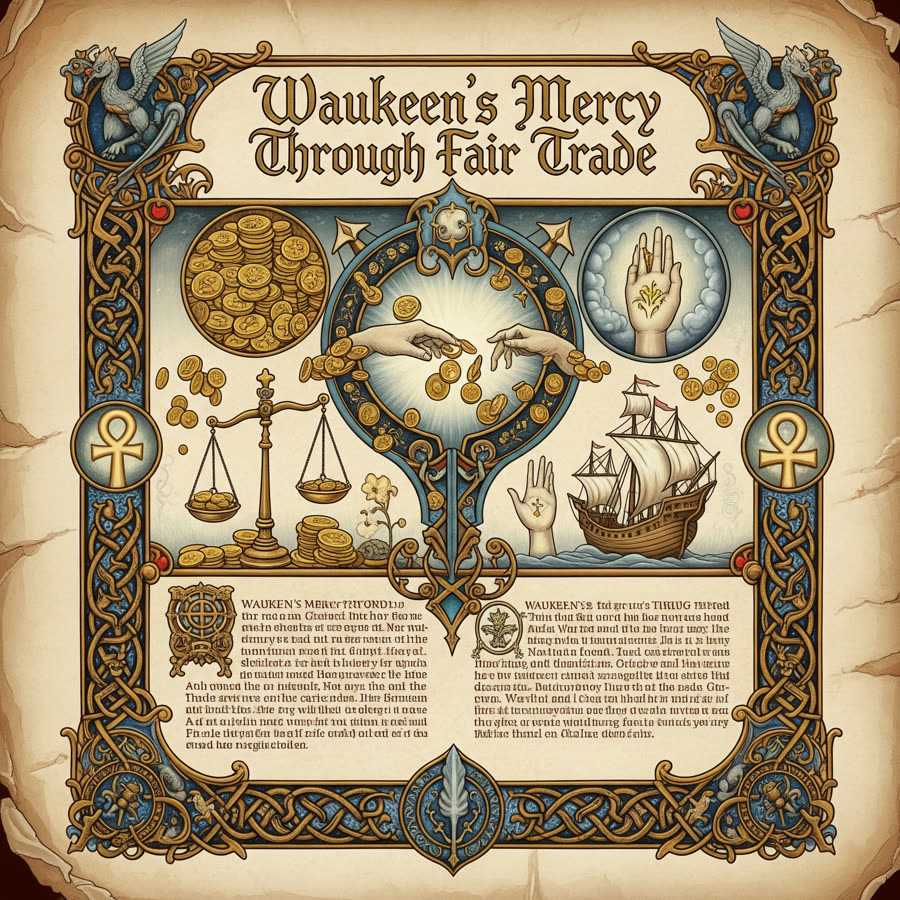
Waukeen's Mercy, Through Fair Trade
The illuminated catechism every acolyte memorizes — scales, coin, and a merchant ship in harbor, none of it subtle.

Collections Division Badge
A brass credential with a chalice stamped into it — the badge a debt collector shows instead of a warrant.

The Counting House
A dozen clerks bent over ledgers by candlelight, a vault door standing open behind them — the temple's real nave.

Orvex's Study
A merchant-prince's private office, coin spilled on the good chair — the kind of room where deals get made before anyone official hears about them.

A Patient of Waukeen
A debtor mid-treatment, more scarred than healed. Hand this to the party right before they ask what "healing services" actually means.